I got two words for you……….plain and simple.
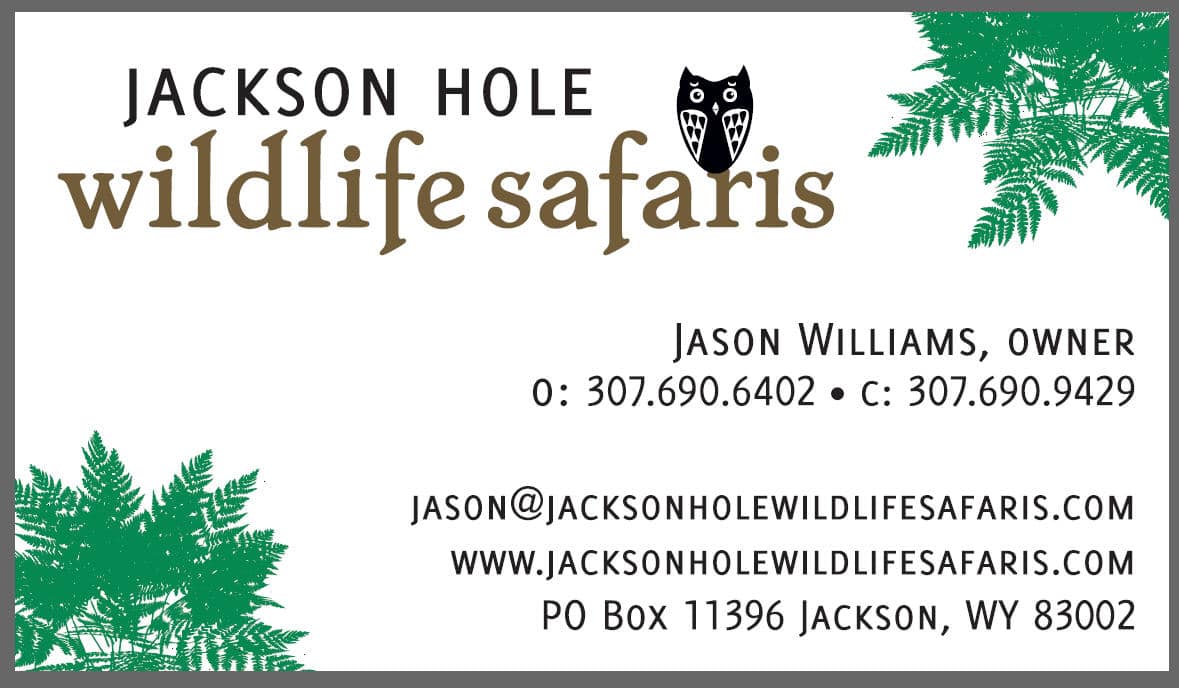
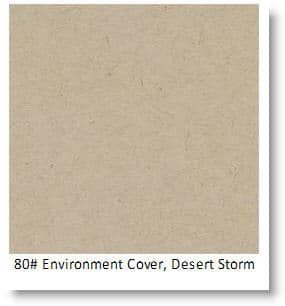
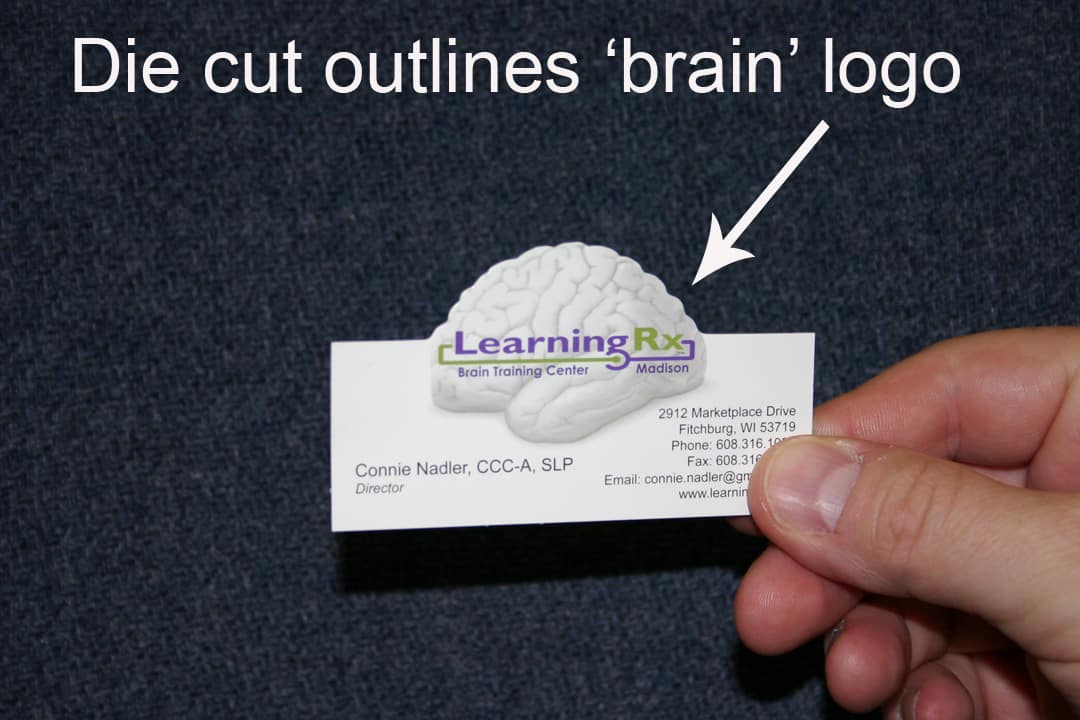
No need for “fancy schmantsy or even artsy fartsy. Plain and simple are often exactly what you need to accomplish the job. Recently I had a print job catch my eye again as I walked through the press room. The job was business cards printed on a stock that resembled chip board and was complimented with two simple pieces of clip art. Those cards drew me towards them like a gold prospector honing in on a shiny rock. Not a common occurrence during my 37 year trek through a labyrinth of ink and paper.
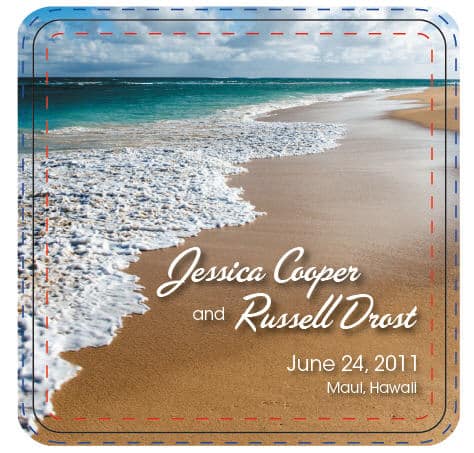
I think of how easy it is to search for a photo on Google or go online to a “photo supermarket” and get the artwork you need for your printed piece; it is amazing how far the printing industry has come. Everybody’s doing it! That’s what I see when I look at the sea of printed pieces on our shop floor today. Trends like “drop shadows” or “gradients” certainly help mark the milestones. Real life photos, as if lifted off the pages of National Geographic, now adorn business cards for Gazelle Plumbing.
What sets this business card apart from the others is its simplicity. The artwork in the upper right and bottom left corner are green fern leafs. There is a small “clip art” owl, slightly above the words, “Wildlife Safaris”. Two months from now, I’ll still remember the name and I’ll remember the location. I won’t be distracted by anything, and when I’m looking for the card in my wallet to pass along, I’ll know exactly which one it is, even at a fast glance.
Why?
It’s plain, it’s simple and it looks nothing like all the others. Next time you’re on a safari and you see the zebras all zig, see if you can spot the one that zags.
Need help with your print? Talk to a live print expert today: 800-930-7978.